
Tea Knowledge
Tea Tray Not Draining? Check the Vessel, Hose and Cleaning Order

A little care for the setup makes room for the next cup.
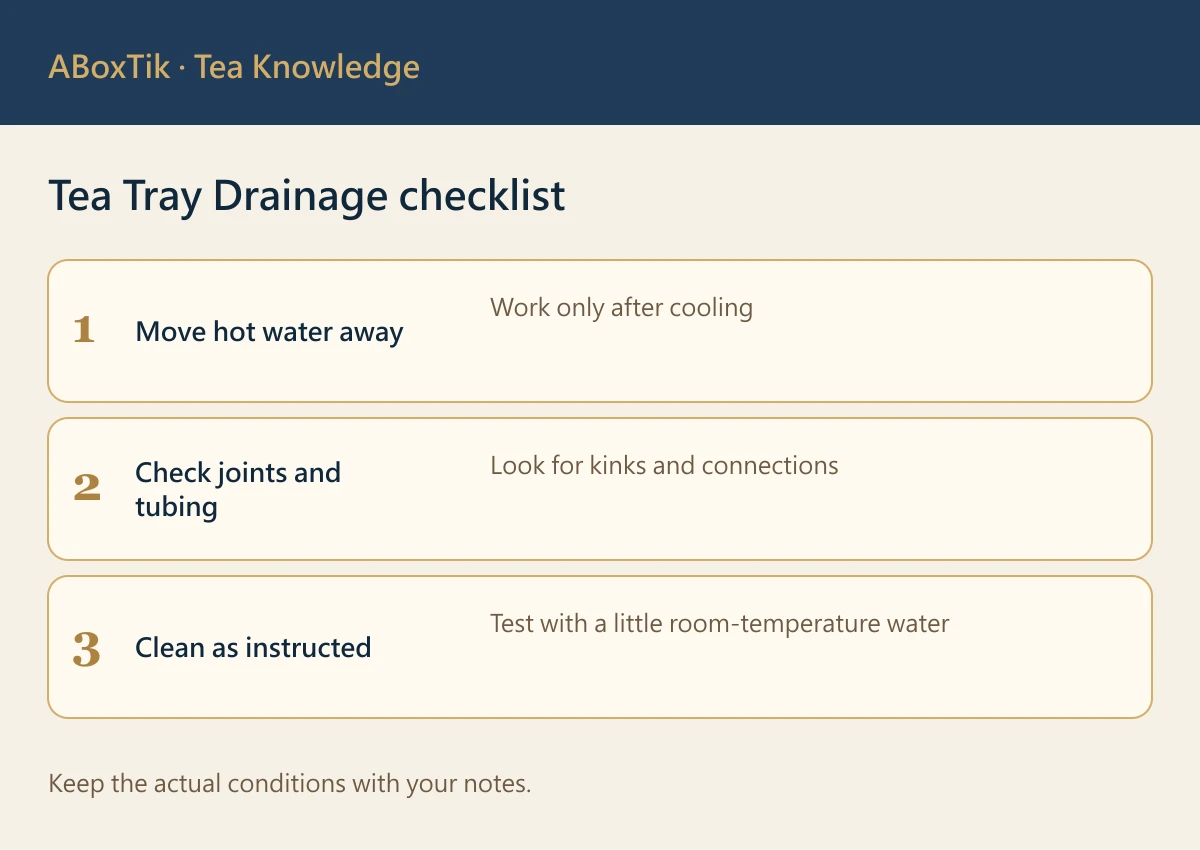
When a tea tray drains slowly, stop adding water, let the equipment cool and move electrical items away. Then work from the outside in: check the collection vessel, visible hose and any leaves you can remove according to the maker’s instructions. After reassembly, test with a little cool water. If water still leaks or the cause remains unclear, stop using the tray and contact the maker or supplier.
Water collecting on a tea tray can tempt you to pour another kettle over it. Give the kettle a rest first. A collection vessel may be full, a hose may be pinched, or accessible leaves may need cleaning. Start with what you can safely see; the fittings do not need to enter a strength contest.
Identify the tray and where the water goes
Some trays drain through a hose into a vessel below; others collect water in an internal pan. A dry-brewing tray may be intended for small drips rather than continuous pouring. Read the instructions for your particular product to find out where water goes, which parts can be removed and how each part is cleaned. A decorative opening does not necessarily lead to a drain.
| Arrangement | Where water goes | First check |
|---|---|---|
| Drain hose | Through a hose into a vessel | Vessel, hose route, joints and opening |
| Internal collection pan | Into a removable or built-in part | Water level and removal instructions |
| Dry-brewing tray | Small drips are caught separately | Intended use and separate waste-water vessel |
If the instructions are unclear, ask the supplier about the model before taking it apart. Wood, bamboo, ceramic and other materials can have different finishes and fittings. A tea tray planning guide helps with choosing a layout; this guide follows the practical steps when drainage becomes slow during use.
Stop, cool and protect the surrounding area
Stop pouring tea or water onto the tray and allow the parts to cool. Move electrical equipment, cords and items that should stay dry away from the wet area. Prepare a cloth, a stable empty vessel and any cleaning tools permitted by the maker. If water has already leaked, move tea ware only where it is safe to do so and follow the equipment instructions for the surrounding area.
Look at where the water is collecting. Is it on the tray surface, around the opening, beside the vessel, or inside a nearly full collection pan? A photograph or a short note can help explain the problem later. Do not put fingers into an unfamiliar opening or attempt to lift a heavy tray full of water just to see underneath.
First check the collection vessel
If the vessel is full, stop the flow and empty it carefully according to the setup instructions. Put it back in a stable position. Check whether it has moved, whether the hose end is correctly placed inside, and whether feet or stored items can knock it over. Before carrying a full vessel, make sure the route to the sink is clear of cords and other equipment.
For an internal collection pan, check the instructions for the water level and removal method. Do not force a stuck part. Looking at the level during a session and emptying it when needed can be easier than carrying it when full. Capacity and use vary by product; there is no universal number of pours that suits every tray.
Follow the visible hose
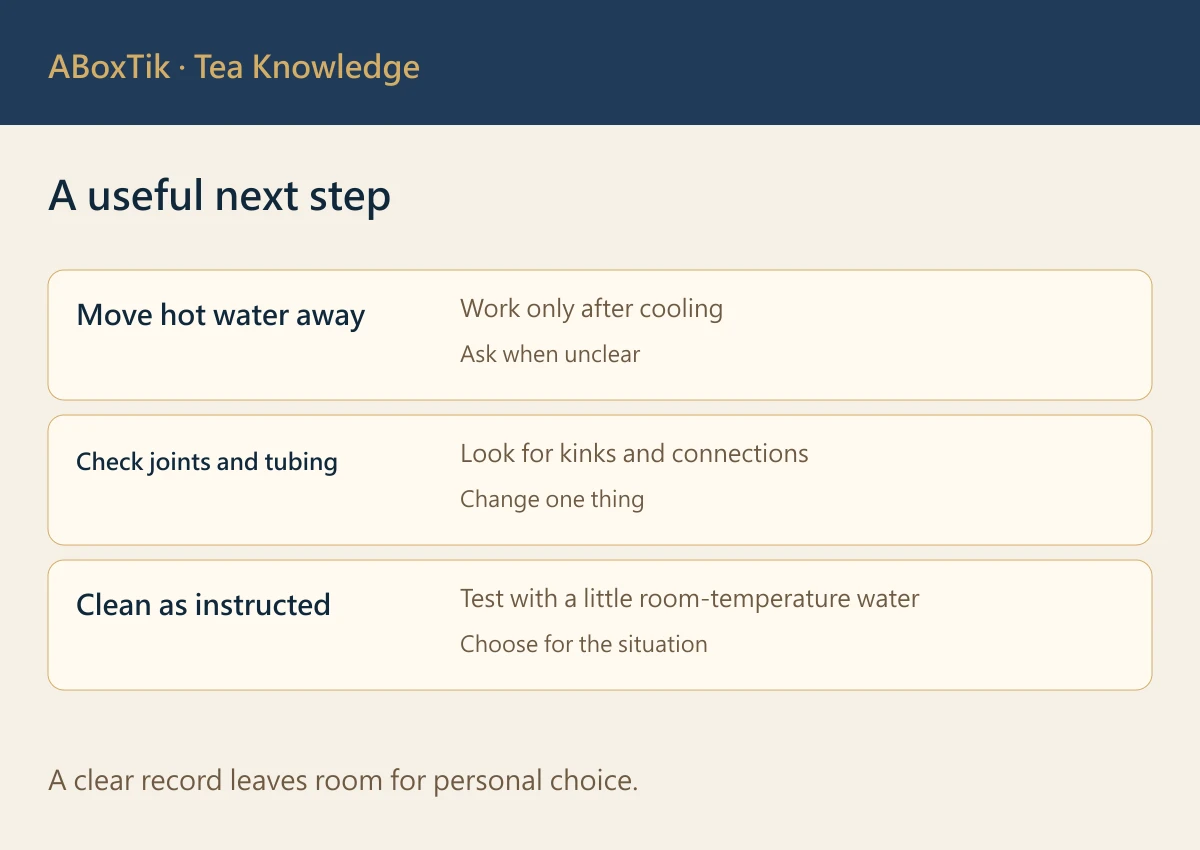
Look along the hose from the tray toward the collection vessel. Is it bent sharply or pressed by a table leg? Is a visible joint loose or wet? Adjust only what the maker permits, and avoid pulling on connectors. Keep the vessel stable as you move the hose so the end does not leave it unexpectedly.
Some hoses sit beneath a tray or inside furniture. Do not turn a filled tray over to investigate them. If the route is difficult to see safely, stop and contact the maker. A worn or damaged fitting needs advice for the actual product; a general household tip cannot substitute for its repair instructions.
When describing the problem, distinguish water that stays on the upper surface from water that appears outside a joint. These observations can lead the supplier to ask different questions. Note whether the problem happens immediately or after several pours, whether the collection vessel was emptied, and which parts are visible. A short video may be helpful if it can be made safely without moving a full tray. Do not continue pouring merely to create a recording; describe what you already observed and ask the supplier what information they need.
| Observation | First action | If it continues |
|---|---|---|
| Vessel full or unstable | Empty carefully and place securely | Recheck the setup |
| Visible hose bent or compressed | Adjust as directed without pulling joints | Stop and contact the supplier |
| Leaves visible at the opening | Clean accessible removable parts as directed | Do not push a hard tool into unknown parts |
| Water around a joint | Stop pouring and dry the area | Ask about the fitting and repair |
| Cause not visible | Record symptoms and model | Contact the maker or supplier |
Clean accessible parts, then test with a little water
Once you know which parts are removable, clear visible leaves and clean only the parts the instructions say can be washed. Reassemble as directed. Follow product-specific cleaning and drying guidance for wood, bamboo, coatings and other materials. Do not introduce hot water, harsh cleaners or hard tools into a structure unless the maker says they are compatible.
Place the vessel securely and test the reassembled setup with a small amount of cool water. Watch the opening, joints, hose and area around the vessel. If it drains and stays dry, return to normal use according to the instructions. If it remains slow or leaks, stop and keep your notes for the supplier. A small test is a basic observation, not proof that every possible fault has been fixed.
Make the next session easier to set up
At the end of a session, collect loose leaves separately, then empty and clean the relevant parts as directed and let them dry. Periodically check that the hose is not compressed and the collection vessel remains in place. If several people share the tea table, show them where the vessel sits and when it needs emptying.
Before buying or using another tray, ask about wet-brewing use, drainage, accessible parts, replacements and cleaning as well as dimensions and appearance. Keep the instructions somewhere easy to find. The goal is a tea table that is pleasant to use and straightforward to put away.
Keep a short troubleshooting note
Record the model, when the problem began, whether water collects on the tray or leaks at a joint, the vessel’s level, the visible hose condition and the checks already performed. Share these details with the supplier and leave uncertain fields blank. Once the cause is resolved, add the actual remedy to the note for next time.
Start with the vessel and visible hose, clean only as the product instructions allow, and seek help if the problem remains. Once the surface is dry and the setup is safe, there is room for another quiet cup.

Related reading and tea choices
Sources
Sources checked: 29 October 2026.